Introduction
By default, suppliers in Spindle Purchase Invoice Recognition (SPIR) are not set to auto-verify. SPIR users must determine which suppliers are suitable for auto-verification on a supplier-by-supplier basis.
Auto-verification allows SPIR to send an invoice to Spindle Approvals or Sage 200 for posting, depending on whether Spindle Approvals is in use, without manual intervention.
Auto-verification only occurs when no invoice fields are flagged as requiring verification. Flagged fields are highlighted in pink or green.
Good Candidates for Auto-Verification
- Suppliers where no manual intervention is required when processing invoices. For example, the Sage 200 company code, supplier reference/account, invoice number, invoice date, PO number (if applicable), footer values, VAT Analysis, Project Analysis, and Nominal Analysis tabs are populated correctly.
- Suppliers where the invoice and PO match most of the time. Invoices with PO discrepancies are flagged for verification and will not auto-verify. These suppliers may still be good candidates, as invoices that meet the required criteria will auto-verify, while exceptions will require manual review.
Suppliers That Should Not Be Set to Auto-Verification
- Suppliers where the user must manually amend the nominal narrative.
- Suppliers where the invoice date may be populated from an incorrect field, such as the delivery date or due date. SPIR identifies the invoice date as the date in the past that is closest to today’s date. If a supplier typically sends invoices at the end of the month and also includes another date that may be closer to today, the supplier should be manually verified so the SPIR user can confirm that the correct date is populated.
Note
It is recommended that Suppliers are only added to the Auto-Verification list once Users have confirmed that all fields are recognised correctly for that Supplier. It is NOT recommended that all Suppliers are added to the Auto-Verification list from day one.
Prerequisites
To make changes in the Spindle Document Recognition SA Tool, you must be logged in as a Sage 200 administrator with permission to the SQL instance where Sage 200 is hosted.
You will need the following information for each supplier to be switched to auto-verify:
- Sage Company ID
- Account Code/Reference
- Whether Project Accounting is used for this account
- Whether the Load Line Items from PO functionality should be automated for this account
- Whether an additional nominal row is required for this account and, if so, the data required for the nominal code, cost centre, and department
Applies To
SPIR for Spindle Document Management Version 8 onwards.
Process
To amend the setting:
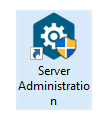
1. Open Spindle Document Management SA:
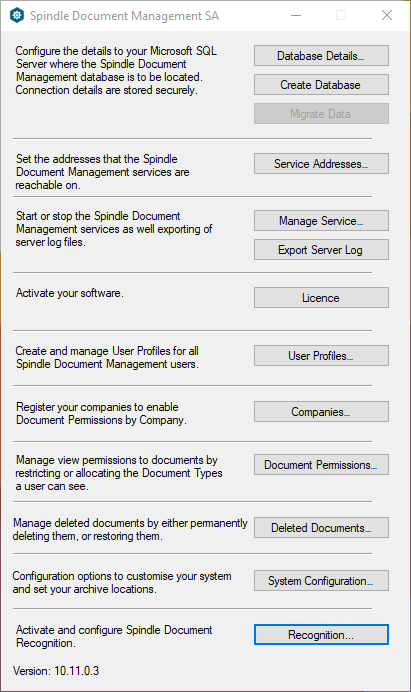
2. In the Spindle Document Management SA Tool, select Recognition towards the bottom of the window:
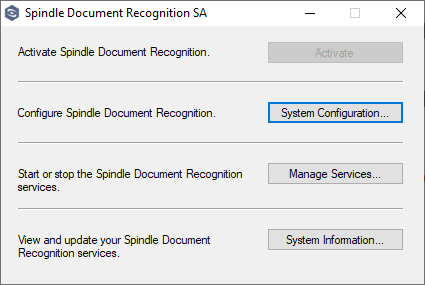
3. In the Spindle Document Recognition SA Tool, select System Configuration:
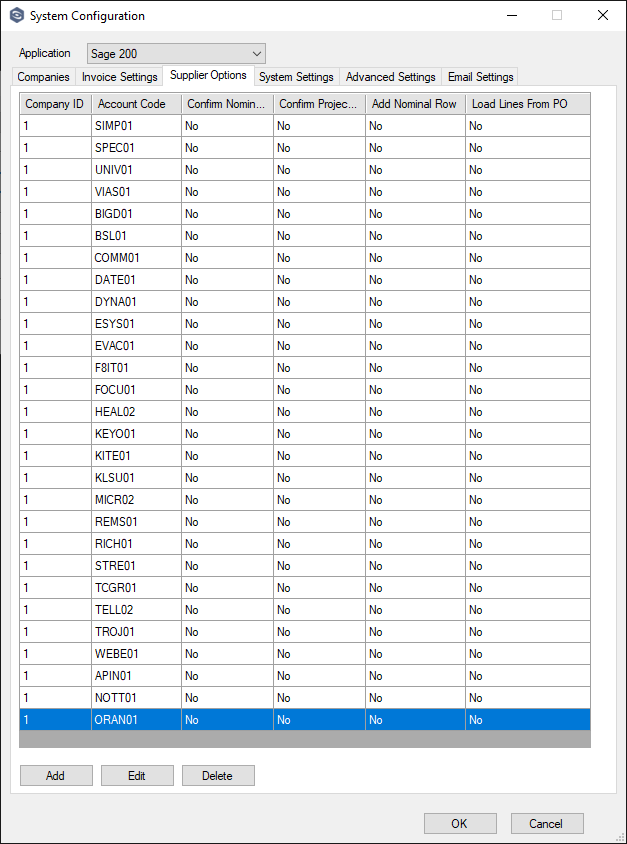
4. Navigate to the Supplier Options tab and select Add:
5. Enter the Sage Company ID in the Company ID field.

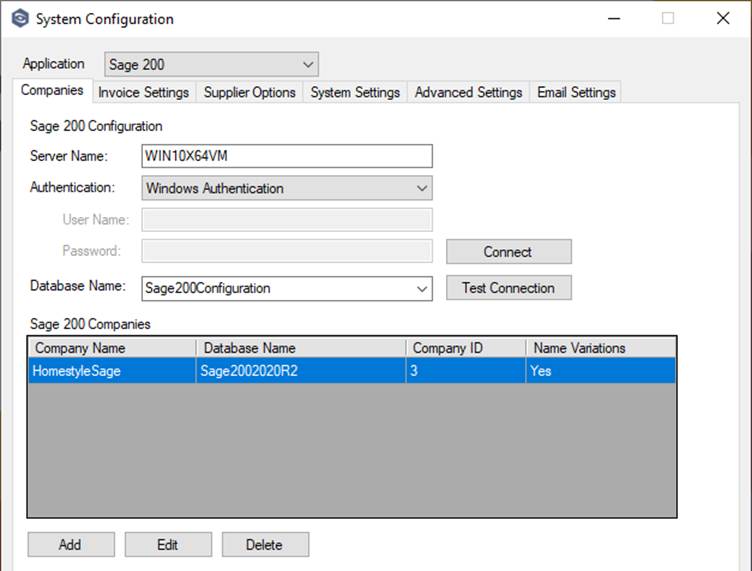
If you are unsure of the ID, a list of Sage companies connected to SPIR is available on the Companies tab, the Company ID is also listed:
6. Enter the account code in the Account Code field. The SPIR user may need to provide this:

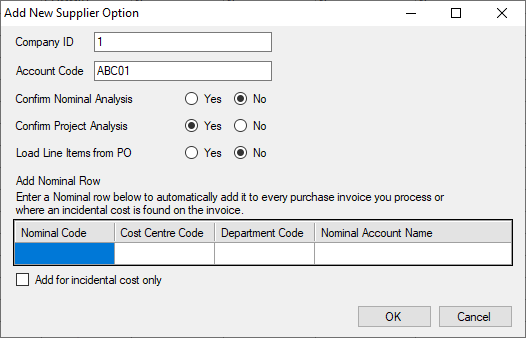
7. By default, the Confirm Nominal Analysis radio button is set to Yes. This prevents a supplier from being auto-verified because the SPIR user must manually confirm that the Nominal Analysis data is correct. The nominal code on the Nominal Analysis tab in Web Verify is flagged in green:

To enable auto-verification for a supplier, this field must be set to No. This means the user no longer needs to manually confirm the Nominal Analysis data. However, any invoice for this supplier that has a field flagged in green or red will not auto-verify.
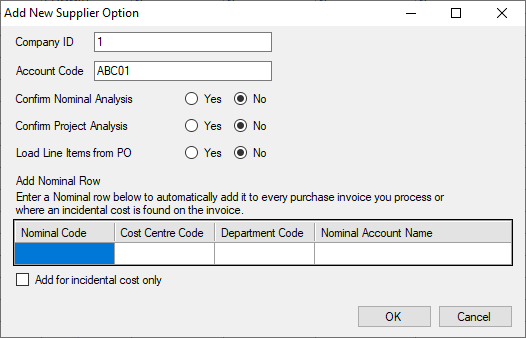
8. By default, the Confirm Project Analysis radio button is set to Yes. This also prevents a supplier from being auto-verified because the SPIR user must manually confirm that the Project Analysis data is correct.
To enable auto-verification for a supplier, this field must be set to No. This means the user no longer needs to manually confirm the Project Analysis data. However, any invoice for this supplier that has a field flagged in green or red will not auto-verify:
Project Accounting is not commonly used, so this field can usually be set to No.
9. By default, the Load Line Items from PO radio button is set to No.
When users manually process invoices with purchase orders in Web Verify, they can select Load Line Items from Purchase Order. This is used when line item information cannot be recognised or when the invoice line item(s) is in a different format from the purchase order line item(s) e.g. due to unit of measure.
If the user wants purchase order lines to be loaded for every invoice from this supplier, this can be automated.
With this setting enabled, the lines recognised from the invoice will automatically be replaced with the lines from the Purchase Order.
This setting is independent of the auto-verify option and can be used in several ways:
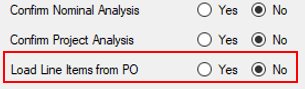
- A supplier can be set to auto-verify without automatically loading lines from the purchase order. In this scenario, the user will not be able to manually load lines from the PO if the invoice has no other fields requiring verification, because the invoice will be auto-verified.
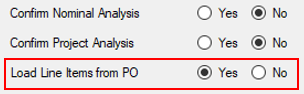
- A supplier can be set to auto-verify and have lines automatically loaded from the purchase order.
- A supplier can remain subject to manual verification while still automatically loading line items from the purchase order. This saves the user from manually selecting the option to load line items.
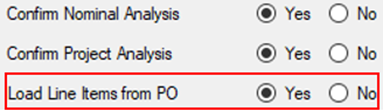
The user must confirm which option is required.
10. By default, the Add Nominal Row fields are blank. When these fields are populated, an additional row is added to the Nominal Analysis tab and automatically populated with the data entered in the Add New Supplier Option window.
Not every field needs to be populated. For example, not all customers use nominal cost centres or nominal departments.
Not all users require an additional nominal row.
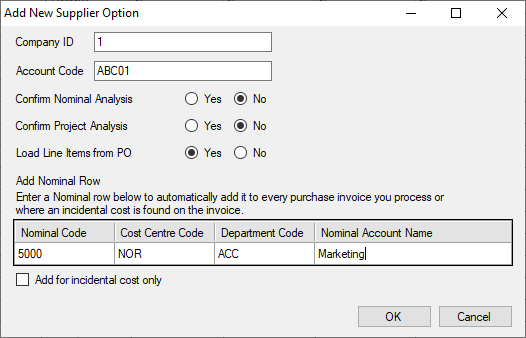
11. An additional option is available to add the nominal row only when an incidental cost is recognised on the invoice. Not all users require this option to be enabled.
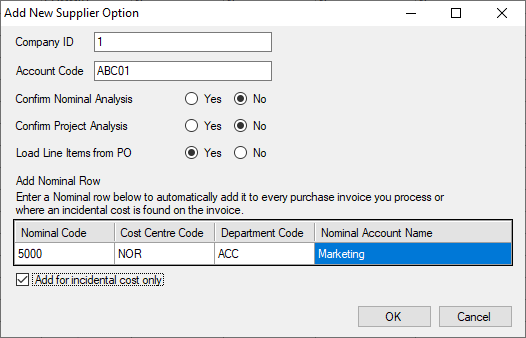
12. Select OK.
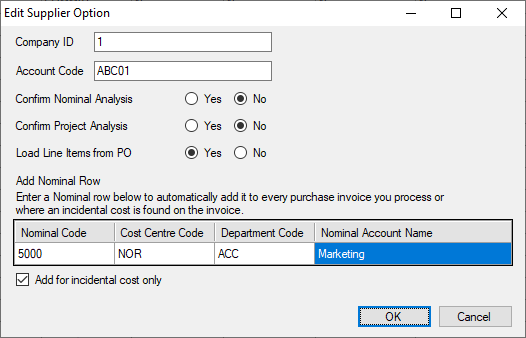
The supplier is added as a new row in the table.
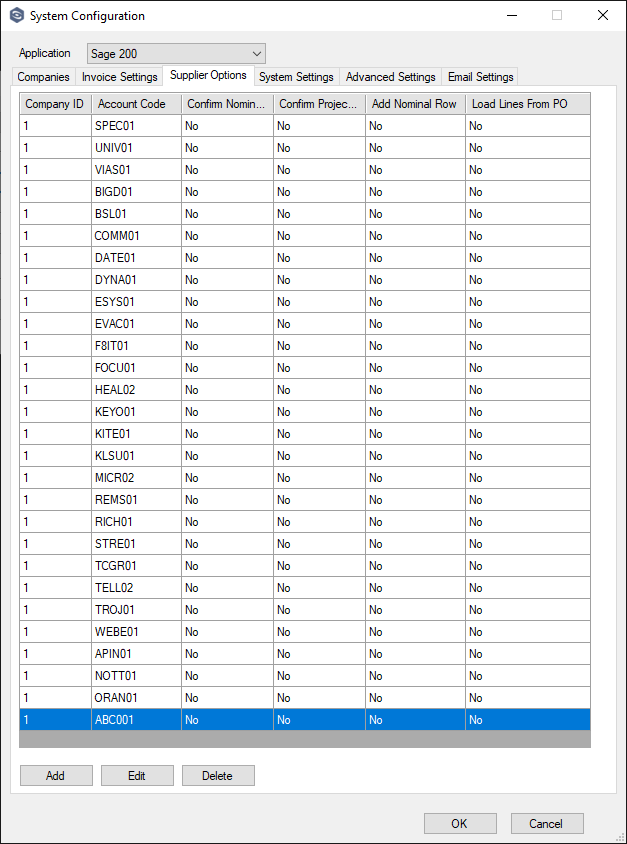
13. Select OK.
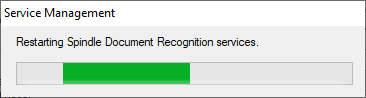
14. When prompted to restart the services, select Yes:
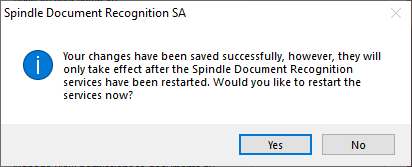
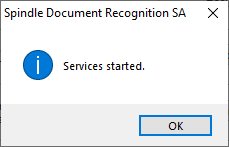
15. After confirmation that the services have restarted successfully, select OK:
16. Close the window using X, then close both Spindle Document Recognition SA and Spindle Document Management SA.
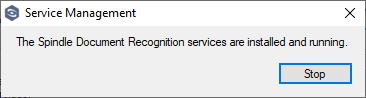
It takes approximately 15–20 minutes for the changes to take effect. The new supplier rules will be applied to any new invoices uploaded to the Document Portal after the changes have taken effect.
Below is a useful table and/or document that can be sent to Users/Customers to ask them to supply the information required to set a Supplier to auto-verify:
Company ID | Supplier Ref | Confirm Nominal Analysis | Confirm Project Analysis | Load Lines from PO | Add additional Nominal Row |
The number shown in the first field in web verify | Not the name. also known as Account Number or Account Code | Default setting is Yes. Setting to No enables auto-verification if no other field is flagged in pink or green | Default setting is Yes. Only required if Project Accounting is used in Sage 200. Should be set to No to allow auto-verification. | Default setting is No. Should be reviewed on a Supplier by Supplier basis. Is the Load PO Lines button used every time for this supplier when verifying manually? If the answer is Yes, the setting should be set to Yes. | Default setting is No. Is an additional Nominal row required every time for this supplier? e.g. where the invoice is split between nominal codes? |
Please provide the number | Please provide the Supplier Ref | Please provide Yes or No | Please provide Yes or No | Please provide Yes or No | Please provide Yes or No and the Nominal Code, Cost Centre and Department if they are to be auto-populated |
|
|
|
|
|
|
|
|
|
|
|
|
|
|
|
|
|
|
To disable Auto Verification for a Supplier, select the row containing the supplier details and click Delete at the bottom of the screen:
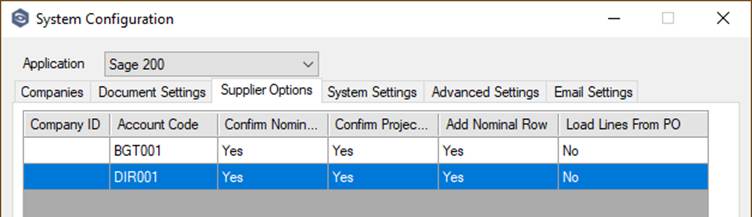
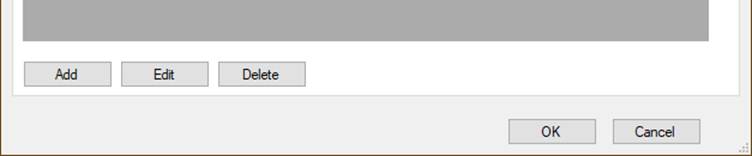
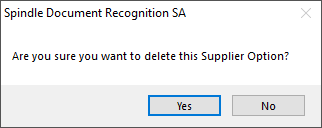
You will be asked to confirm that you want to delete the supplier:
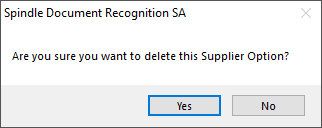
After confirming, the Supplier will be deleted from the Auto-Verification settings.
| Related Product | Spindle Purchase Invoice Recognition |
| Reference Number | KBA-11-02-021 |
| Document Date | 10/08/2026 |
| Original Author | Matthew Perry |
| Document Version | 1.0 |
| Last Updated | |
| Update Author | |
| Keywords | SPIR, Supplier, Auto Verify |
Was this article helpful?
That’s Great!
Thank you for your feedback
Sorry! We couldn't be helpful
Thank you for your feedback
Feedback sent
We appreciate your effort and will try to fix the article