PayThem by Draycir enables you to get paid faster by accepting invoice payments by credit cards and bank transfers via our 'Pay Now' button on outgoing emails. This streamlines the process of collecting payments securely and swiftly, enabling your customers to settle outstanding invoices in just a few clicks.
PayThem works with payment providers such as Stripe, Opayo (previously SagePay), TranSafe, TrueLayer, and Total Processing, making payment collection hassle-free.
Add a Company in PayThem
The first step is to configure your PayThem company within the PayThem Admin Portal itself. To add a company, please follow these steps.
- Login to the PayThem Admin Portal
- Click on Settings from the menu in the bottom left-hand corner of the screen.
- From the menu select Companies.
- When the page appears, click on the Add Company button in bottom left-hand corner
- Enter the name of the company
- Enter the company short name and description (This is optional)
- Select the correct ERP system from the dropdown menu
- Enter the Host Id
- Enter the Custom Id (This is for Spindle Document Distribution integration and must match the dataset ID)
- For Sage 200, use the Company number taken from Sage Adminstration to populate both Host ID and Custom ID
- For All other ERPs, ensure that the Host ID and Custom ID match each other and are unique for each company you will use.
- If you wish to copy settings from an existing company click Copy Settings From drop down to select the company
- Click on Add to finish
Link a PayThem Company
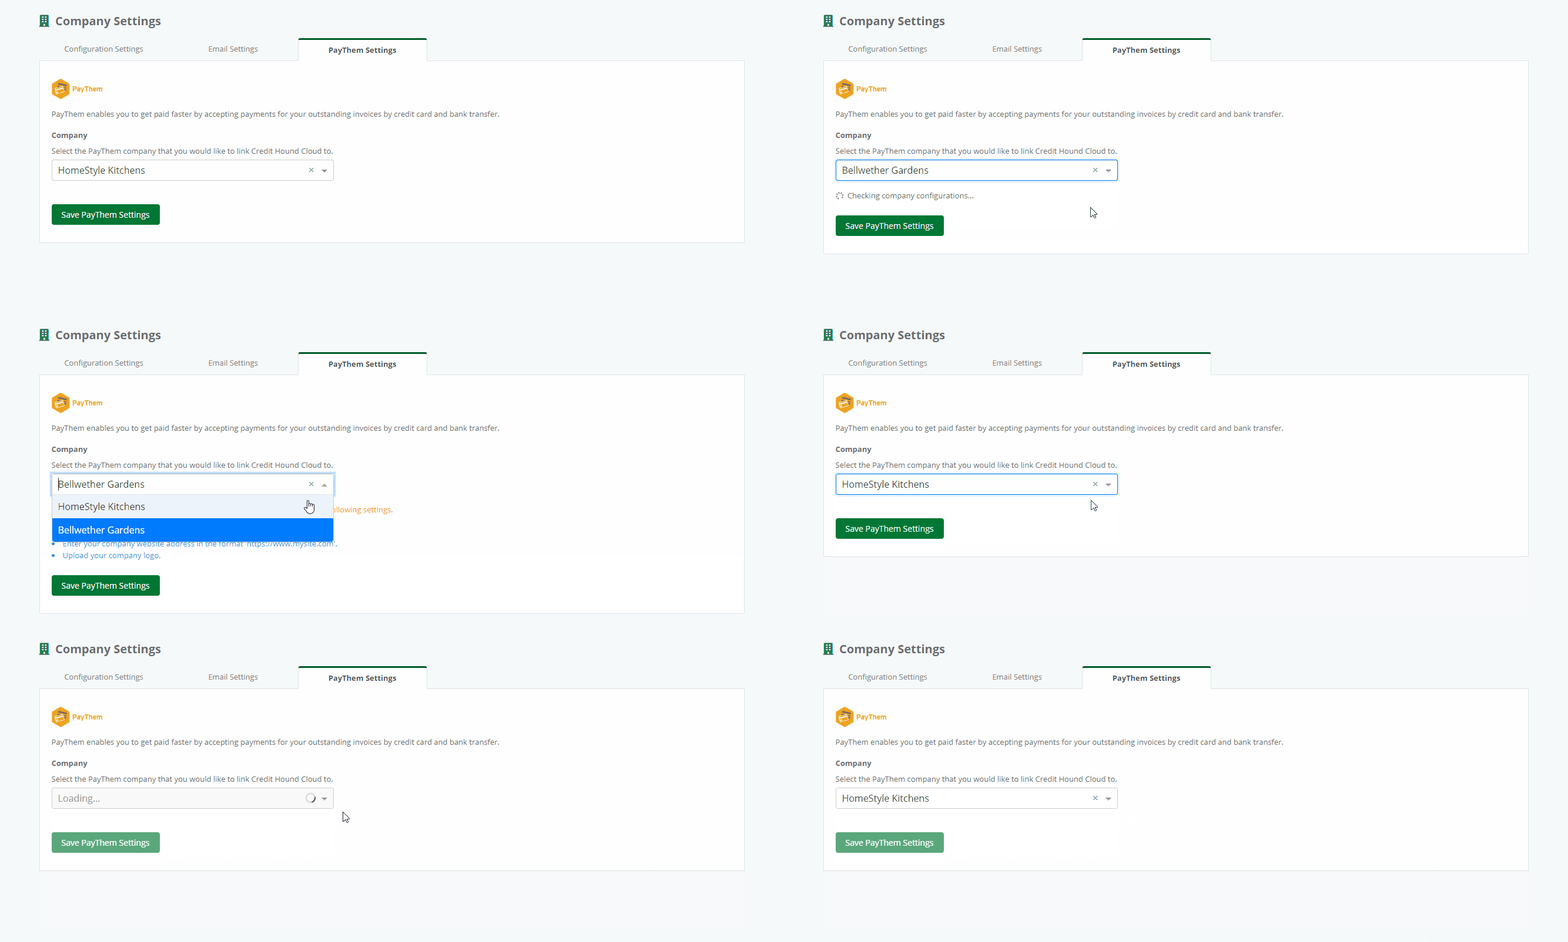
Once you have added your company to PayThem, you can link this to Credit Hound Cloud by selecting the company within PayThem Settings from the drop down.

If you have multiple Credit Hound Cloud companies, please ensure you select the correct PayThem company to link to.
Setup Prerequisites
If you have not completed the setup for PayThem and have some outstanding configuration tasks, these are listed as mandatory and recommended Settings that must be done before you can use PayThem with Credit Hound Cloud,
You can launch the PayThem Admin Portal via the link in blue.

The outstanding configuration tasks listed are:
Mandatory
- Configure Payment Provider
Draycir PayThem supports a number of different Payment Providers. You need to configure a payment provider in the Admin Portal before you can start accepting payments.
- Company Details Incomplete
Details on your company are missing and need to be completed within the PayThem Admin Portal.
Recommended
- Add Website Details
Add your company website details to display on the payments page your customers receive. Enter your company website address in the format 'https://www.mysite.com'.
- Upload a Company Logo
Upload a logo to display on the payments page your customers receive.
Once you have configured these settings within PayThem, refresh the screen and remember to save your changes,
Unlink a PayThem Company
You can remove the connection to your PayThem Company by clicking on the Unlink button next to the company name. This will stop Credit Hound from sending out Payment Requests on your outbound emails. If you wish to reconnect Credit Hound Cloud to your PayThem Company, re-select the company name from the drop-down list and save your settings.
After connecting to PayThem, you can configure your Email Templates and manual emails with a Pay Now button. By adding this Pay Now button to your outbound emails, your customers can receive a payment request by clicking on this button to be redirected to a secure payment page.
Was this article helpful?
That’s Great!
Thank you for your feedback
Sorry! We couldn't be helpful
Thank you for your feedback
Feedback sent
We appreciate your effort and will try to fix the article