Introduction
Credit Hound can run your rules and print out the letters automatically. If used in conjunction with Spindle Professional, this allows for enhanced distribution of your letters with added functionality of archiving a copy. This guide explains how to setup Self Chasing.
Versions Applicable
- Credit Hound v4.XX
- Credit Hound v5.XX
Solution
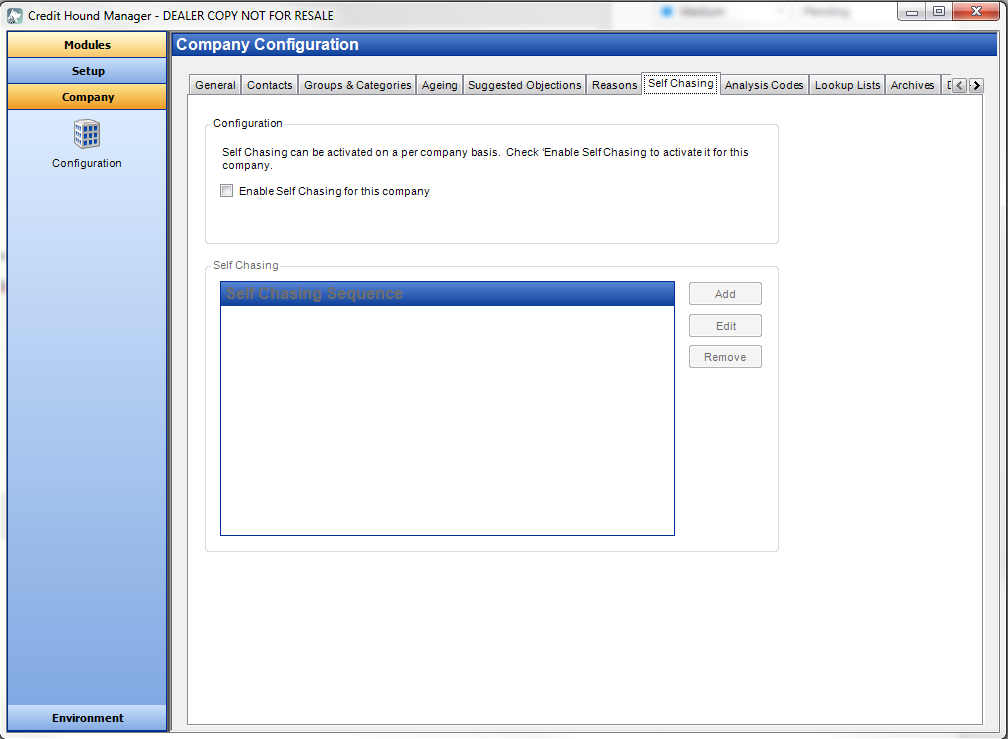
1. Open Credit Hound Manager and navigate to Company > Configuration > Connect to the correct company > Self Chasing tab. Check the box Enable Self Chasing for this company.
2. Click Add and name your self chasing task. Select who you want to run the task as. Ideally, you want to set it to a Credit Hound user. Thereafter, choose your rules in order of most severe to least severe.

3. Click on the Scheduling tab. This window is self explanatory. Bear in mind, it requires the machine to be online for it to run self chasing successfully. Most setups have self chasing setup on a server and scheduled to run at a time where the Credit Hound user is not logged in.

4. Click on the Advanced tab. Choose your preferred sync option (full sync is recommended but optimised will work fine). Select Silently execute rules to allow the self chasing sequence to run without any confirmation from the user. This is ideal for server set-ups. Finally, select the Spindle Pro Auto as the default printer to send out the documents to. The Spindle Pro Monitor process needs to be running in the same session under the same user for it to distribute successfully.

Ensure Credit Hound Manager is closed completely to save any changes.
Was this article helpful?
That’s Great!
Thank you for your feedback
Sorry! We couldn't be helpful
Thank you for your feedback
Feedback sent
We appreciate your effort and will try to fix the article